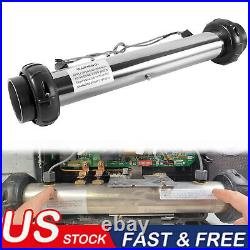
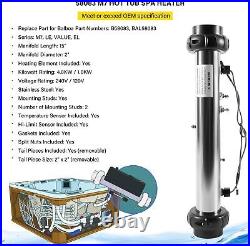
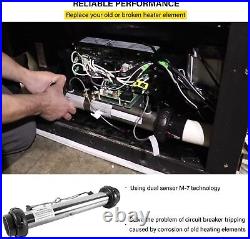
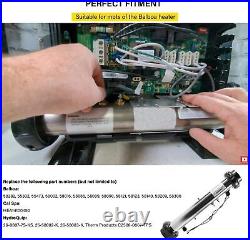
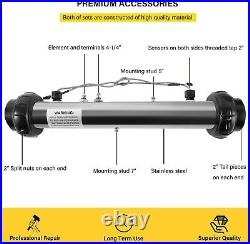
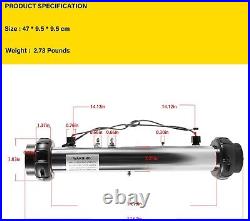
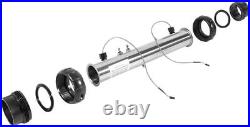
Perfect Fitment? Suitable for most Balboa heater. Replace part number for 58282, 55302, 55473, 58002, 58016, 58086, 58089, 58090, 58121, 58123, 58140, 58209, 58306. Reliable Performance? Solve the problem of circuit breaker tripping caused by corrosion of old heating elements, replace your old or broken heater. Superior Quality? Constructed of high quality stainless steel material, durable and sturdy. Ensure long term use. Satisfactory service? If you are not satisfied with our products. Professional and sincere service. Series: M7, LE, VALUE, EL. Heating Element Included: Yes. Number of Mounting Studs: 2. Suitable for most Balboa heater. Disconnect the power supply of the equipment. Use an open end wrench to slowly crack the heater split nuts until the water in the pipe flows out. Locate the 2 sensors holder on the circuit board. Remove the 2 heater sensors by depressing the clip and gently pulling on the wire to remove each sensor cable. Use a 3/8 wrench to remove the 2 nuts holding the heater in place. Use a 3/8 wrench to remove the nuts on the copper straps. Then lift the copper straps. Use an open end wrench to loosen the heater split nuts and remove the old heater assembly and gaskets. Replace the new gaskets and install the new heater assembly, tighten the split nuts with an open end wrench. Screw on the 2 nuts that holding the heater, insert the 2 heater sensors into the sensor bracket on the circuit board, make sure the copper strip is connected to the heater and tighten the nuts. Put the cover on and screw on the 2 screws on the top of the enclosure. Turn on the water valve and pump, restore the power of the equipment, and test.


